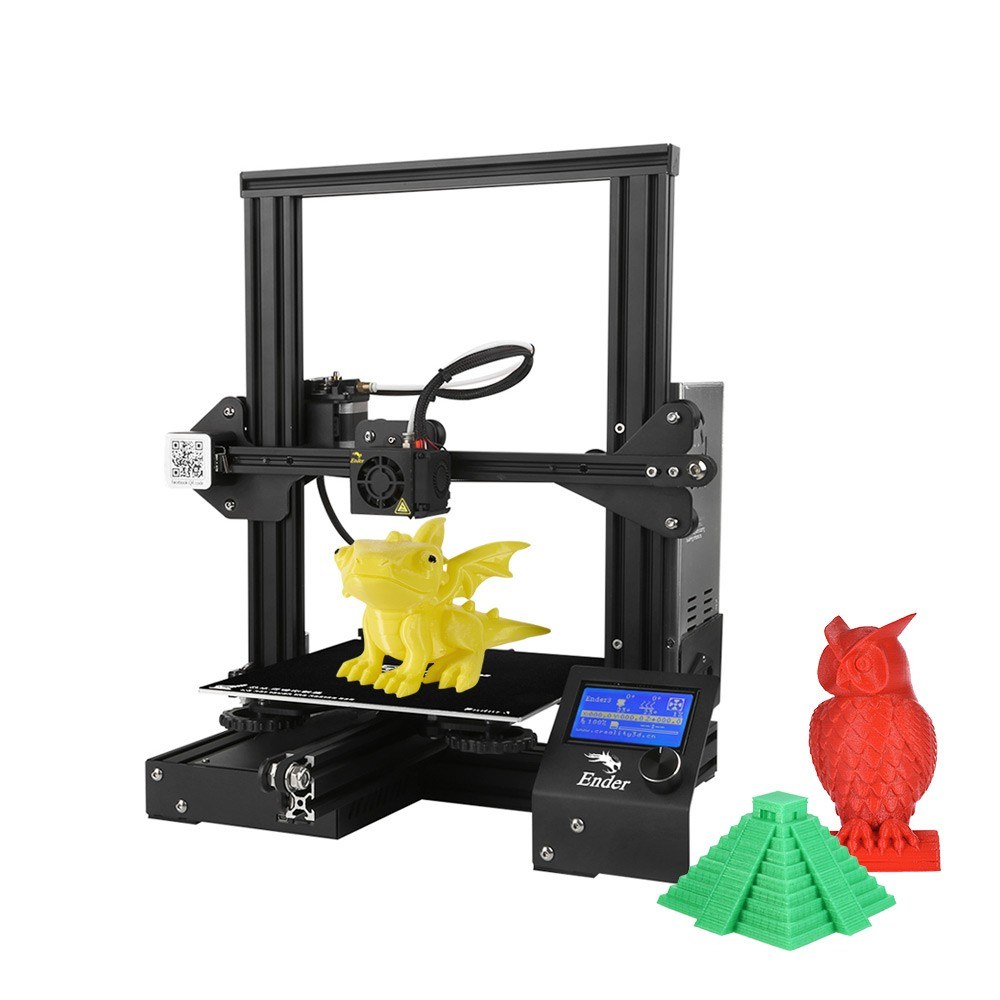
Creality Ender 3 3d printer is a particularly popular 3d printer, Creality company send this printer to users review, and suggestions are proposed according to the users, the iterative update constantly optimizes the product, believe that Creality Ender 3 3d printer so popular among users, profit from early customers pointed out how to make it better, it has a lot to do with the efforts that Creality has put on it. The following is a Creality Ender 3 detailed review:
Price
The price of Creality Ender 3 3d printer is very favorable compared with other 3D printers. The price of Creality Ender 3 is not much higher than the smaller Ender 2 and is 60% of the price of the larger Creality CR-10. It’s comparable to the $1000 printers on the market. Amazon sells them for $230.9, the shipping fee is as little as £160 ($208). Tomtop cooperated with Creality company, which owns the most popular Creality Ender 3 or Creality Ender 3 Pro, selling price is $299 with free shipping.
Design
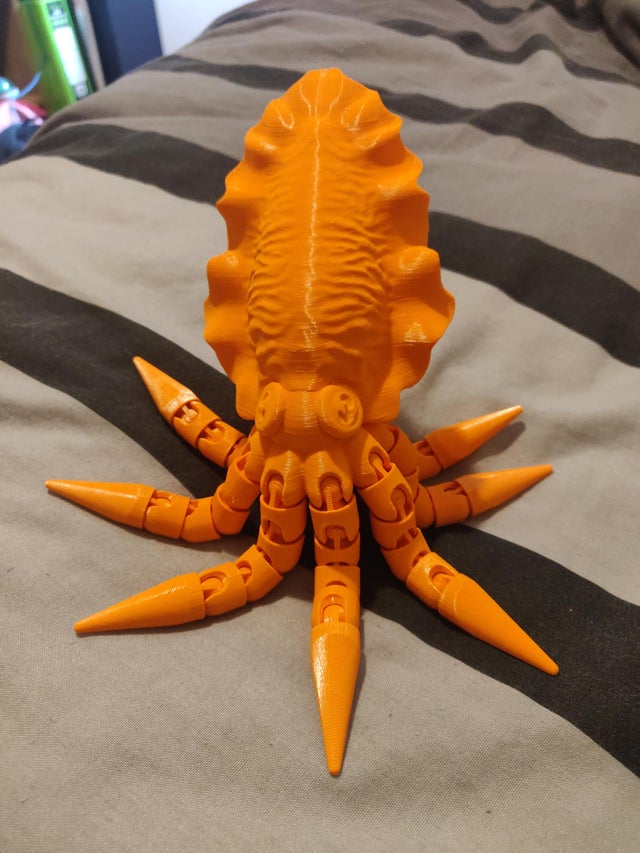
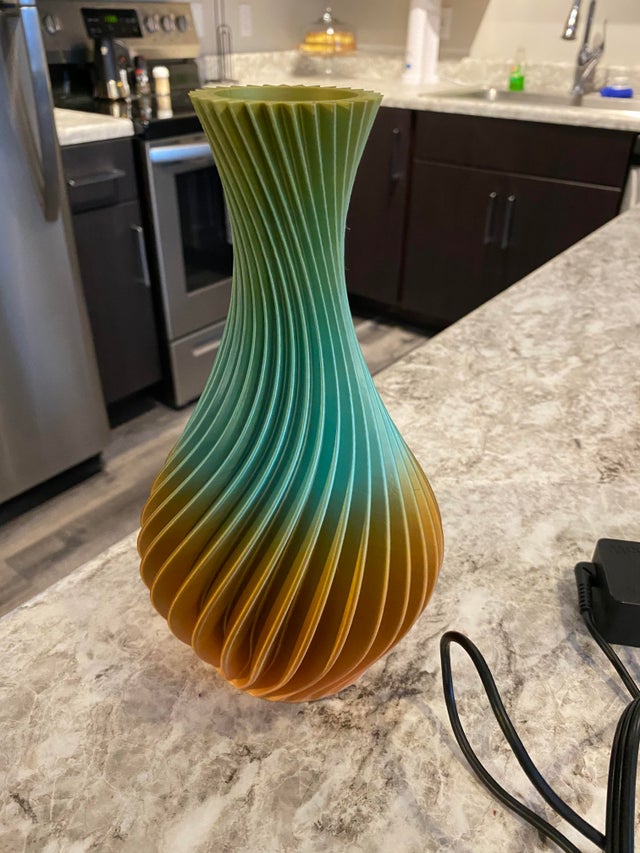
For someone who loves design but is a complete stranger to 3D printers, Creality Ender 3 3D printer is a quick way for everyone to learn and enjoy the creative experience. Creality Ender 3 3D printer is a FDM(Fused deposition model) 3D printer with a nozzle of 0.4mm for extrusion of 1.75mm filament. Creality Ender 3 has an affordable price, and easy to operate, it’s a good quality 3d printer, relative to other printers, Creality Ender 3 has bigger size: 220 x 220 x 250 mm, if you have the patience to wait for it to print molds, Creality Ender 3 will give you enough surprise, it can produce very much funny toys or some interesting things in life, and so on, which models as long as you can think of, Creality Ender 3 can print them out.
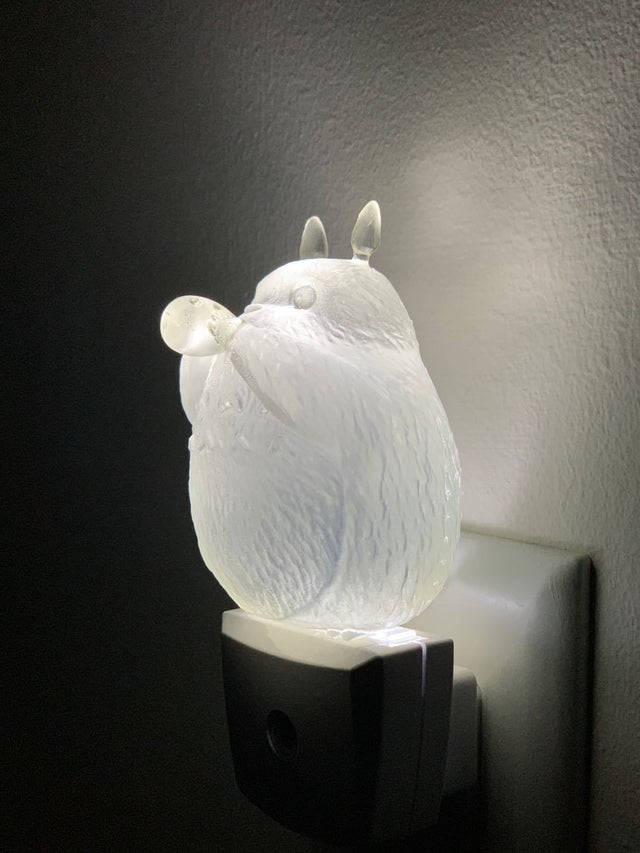
The lowest layer height of 100 microns allows some very detailed models to be printed. The process can be controlled via a USB computer or via a G-code file stored on a microSD card.
Most 3D printers are fully constructed or complete sets. However, Creality Ender 3 needs to be assembled. The most complicated parts, such as the hot end and the base have been pre-assembled, and the remaining frames, such as the Y-axis and electronic cables, etc, it needs manual installation, the assembly is shown on a large colored instruction list that divides the process into 12 relatively simple stages. For users with strong hands-on ability, these installation operations are relatively easy to complete, and for users with weak hands-on ability, it is also a good opportunity to exercise their hands-on ability. If you are a very meticulous person and like to check everything while walking, assemble this Creality Ender 3 3D printer may take up to two hours, or (like us) to put both feet in for about 45 minutes. After the build is complete, take a moment to make sure everything is square and can move smoothly in all directions.
Creality provides a complete kit for the printer, including a hex key set, a pair of small wrenches, a screwdriver, and even some styling shears. You don’t need to add any additional tools, at least one extra bolt or nut is provided in the package of Creality Ender 3. In addition to tools and spare parts, there is an 8GB microSD card with documents, software, and presentation files. Creality even helps users put the microSD card in the USB adapter. However, the filament sample in the package is a small amount, only 15g, which is not enough to print a lot of things. Perhaps the company did this to save costs.
As a 3D printer design method, Creality Ender 3 is the same concept, and Creality develops with the previous Ender model and CR-10 series machines. Creality Ender 3 is different from the typical Prusa-style design, in that it has only a single Z-axis spiral axis and relies on angular bearings to keep the horizontal support arm perpendicular at 90 degrees.
Many comments said that this solution may cause a change in the Z position of the X-axis, farther away from the pivot point, but the stiffness of the frameworks to counteract this.
Another way to reduce costs is to use an extruder designed by Bowden. Earlier Creality Ender 3 users complained that the connector would push the hose on the hot end, causing head blockage due to friction. This problem seems to be solved in the current release, and spare connectors are provided in the parts, and there is even a spare extruder head.
Public Test
So what are the technical weaknesses? One problem that the earlier Creality Ender 3 has not been repaired is that the z-axis threaded rod is not completely vertical, because the stepper motor at the bottom is not directly under the bushing, it is connected to the x-axis beam through the bushing.
The solution is a simple gasket, this may be the first item you should download and print from the Thingiverse website. This shim moves the stepper motor slightly out, and without this small modification, you can bind on the z-axis.
The location of the microSD card slot is not ideal, and an ordinary SD card reader may be a better choice.
But the most headache problem for Creality Ender 3 is that most people have to face when trying to print in 3D – the hotbed should be kept level. Like Prusa i3 and its cloned products have automatic bed leveling, you will envy those products with this function in a short time.
With some technical tips, products like BLTouch can be used to improve the flatness of the hotbed. For those situations where it is difficult to adjust the straightness of the hotbed, this is worth serious consideration. Once we installed the Creality Ender 3, we tried several times, and the first layer produced could achieve satisfactory results.
The model is extruded to the surface of the hotbed and stuck to the Creality Ender 3 3D printer, but don’t worry, the sheet of paper on the hotbed is very thin, and it’s easy to take the model down by folding it up. Another advantage of detachability is that if you prefer to print on a glass surface, you can use glass instead.
Building area of Creality Ender 3 is 220 x 220 x 250 mm, allows for some impressive small and large objects to be built on top. The building board is slightly larger, with 235mm squares, so if you are careful, you can stretch the X and Y parts of the workspace to 230mm.
In general, except for the position of the z-axis stepper motor, it seems that Creality Ender 3 has fixed most other details, and most of the remaining problems are secondary. For those who are new to 3D printing, there is still a lot to learn.
3D printer is one of the technologies that may destroy many jobs in the future